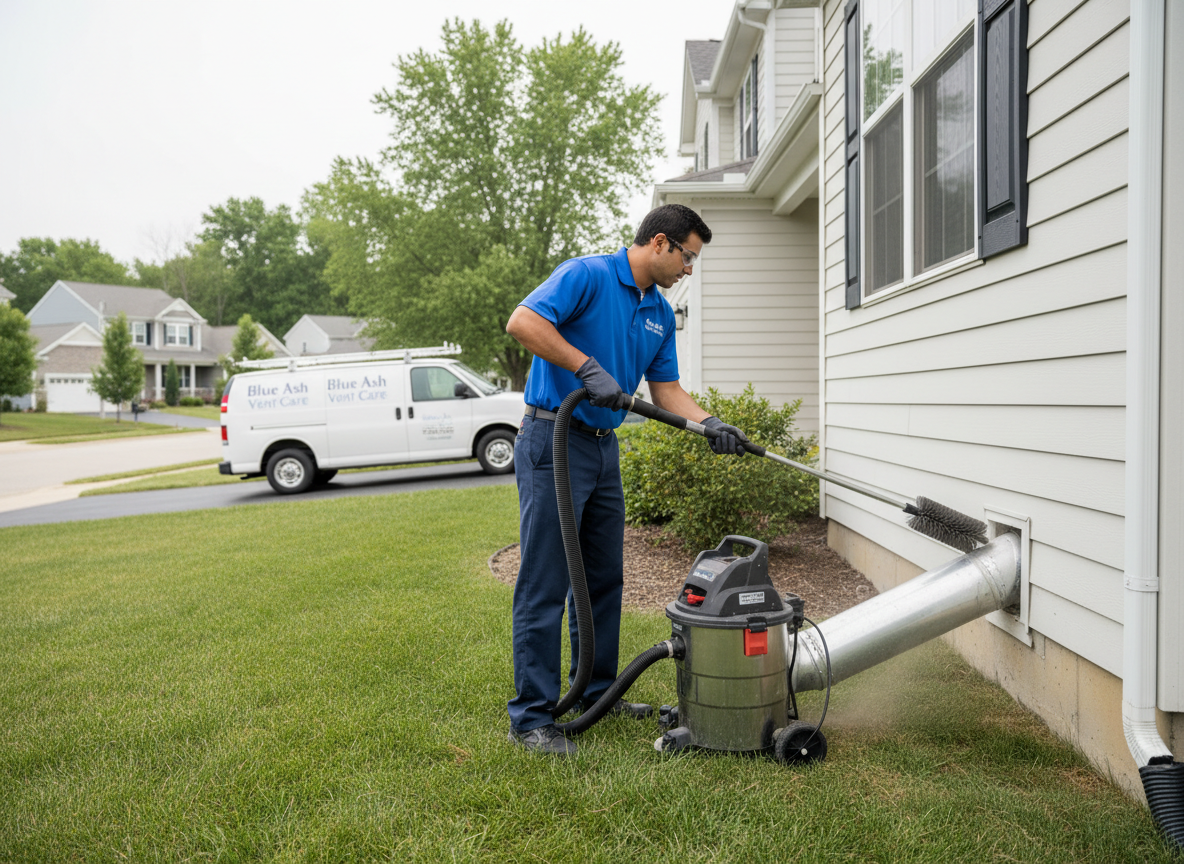
Blue Ash homes, many built between the 1950s and 1980s with ranch and split-level layouts, often route dryer vents through long horizontal runs under floors or along foundations before exiting to the exterior. These paths collect lint at elbows and joints, especially where winter freeze-thaw cycles cause minor pipe shifts. Swift Mend technicians at 9099 Plainfield Rd use rotary brushes and high-powered vacuums sized for 4-inch and 6-inch ducts common in Hamilton County residences, breaking up compacted lint without damaging flexible sections or metal elbows.
Homeowners sometimes overlook vents that terminate near ground level in yards with clay-heavy soil, where moisture from summer humidity combines with winter frost to create blockages. We inspect the full run from the dryer connection through the wall or crawl space, checking for crushed sections or improper terminations that violate basic venting guidelines. Each job includes removal of the exterior flap assembly for direct cleaning and reassembly to maintain proper exhaust flow.
Edge cases in the Blue Ash area include homes with multiple dryers venting into a shared line or additions that extended original vent paths beyond 25 feet. These setups require sectional disassembly and camera verification to confirm clearance. We also note when rigid metal ducting has been replaced with foil flex that sags and traps lint, advising replacement during the service to prevent recurrence.
Technician insight
In Blue Ash, the thing that catches most people out with dryer vent cleaning is the long horizontal runs tucked under 1970s split-level floors where clay soil and winter freeze-thaw cycles shift the duct just enough for lint to pack at the first elbow near the foundation.
Extended Vent Run in a Blue Ash Ranch
A homeowner on Hunt Road reported the dryer taking over an hour per load. We traced a 32-foot vent that ran under the slab before exiting near the rear patio. The first two elbows were packed solid with lint from years of restricted flow. After sectional brushing and vacuum extraction, the test load finished in the normal time with strong exterior exhaust.
How it works
- 1
Initial Access and Inspection
Locate the dryer connection and trace the full vent path through the home to the exterior termination point.
- 2
Lint Removal
Run rotary brushes and attach high-volume vacuum to extract compacted lint from elbows and straight sections.
- 3
Exterior Component Cleaning
Remove and clean the exterior vent flap and hood assembly before reinstalling to ensure unobstructed exhaust.
- 4
Verification and Reassembly
Reconnect the dryer, run a test cycle, and confirm airflow at the exterior exit.
Pricing
Cost depends on vent length, number of elbows, and access through crawl spaces or finished walls; call 24/7 for a direct quote from our Plainfield Road location.